
Android Tips & Tricks
How to Clear System Storage on Android: 7 Easy Steps
Imagine your Android phone slowing down, apps crashing, and that annoying “storage almost full” notification popping up just when you’re trying to snap a photo. Frustrating, right? If your phone’s system storage is bloated, it can feel like your device is working against you. But don’t worry—clearing system storage on Android is easier than you think, and I’m here to walk you through it step by step. Whether you’re a casual user or someone who’s always downloading apps, this guide will help you free up space and keep your phone running smoothly. Ready to give your Android a fresh start? Let’s dive in!
Short Answer: To clear system storage on Android, go to Settings > Storage, clear cached data, uninstall unused apps, delete unnecessary files, and use built-in tools like “Free Up Space.” For deeper cleaning, manage app data or perform a factory reset as a last resort.
Key Takeaways:
- Clear cached data to free up system storage quickly.
- Uninstall unused apps to reclaim space.
- Delete unnecessary files like downloads or old media.
- Use Android’s built-in storage tools for easy cleanup.
- Perform a factory reset only if absolutely necessary.
- Regularly manage storage to prevent slowdowns.
- Back up important data before resetting your device.
What Is System Storage on Android?
System storage on your Android phone is the space taken up by the operating system, pre-installed apps, and temporary files like caches. It’s like the backbone of your phone—it keeps everything running but can get cluttered over time. When system storage fills up, your phone slows down, apps lag, and you might struggle to install updates. Clearing it out is like giving your phone a deep clean, and it’s something every Android user can do with a little know-how. Curious about how to spot what’s eating up your space? Let’s start with the basics.
Check Your Storage Usage
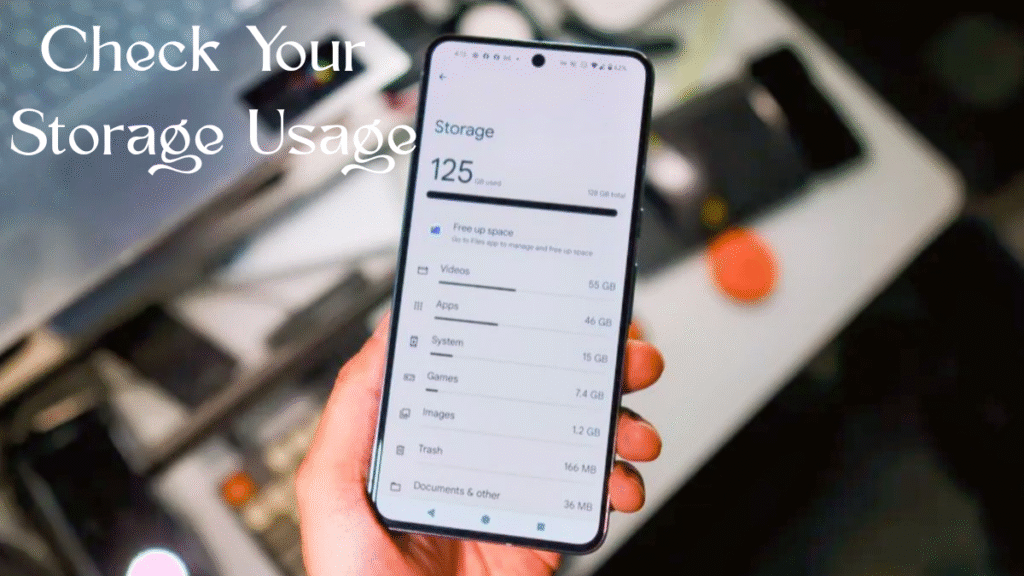
Before you start deleting things, you need to know what’s taking up space. Android makes this super easy. Head to your Settings app, then tap Storage. You’ll see a breakdown of what’s using your storage—apps, photos, videos, and system files. Some phones, like Samsung or Xiaomi, even show you a pie chart to make it visual. If system storage is hogging a big chunk, don’t panic. This section often includes cached data and temporary files that you can safely clear. Want to know how much space you can free up? Keep reading to find out!
Clear Cached Data
Cached data is like the leftovers from apps you use every day. It helps apps load faster, but it can pile up and take up precious system storage. To clear it, go to Settings > Storage > Cached Data. Tap it, and you’ll get a prompt asking if you want to clear it. Hit OK, and boom—you’ve just freed up some space! Don’t worry; clearing cached data won’t delete your app settings or personal data. It’s like emptying the trash can in your kitchen—quick and painless. But what if that’s not enough? There’s more you can do.
Uninstall Unused Apps
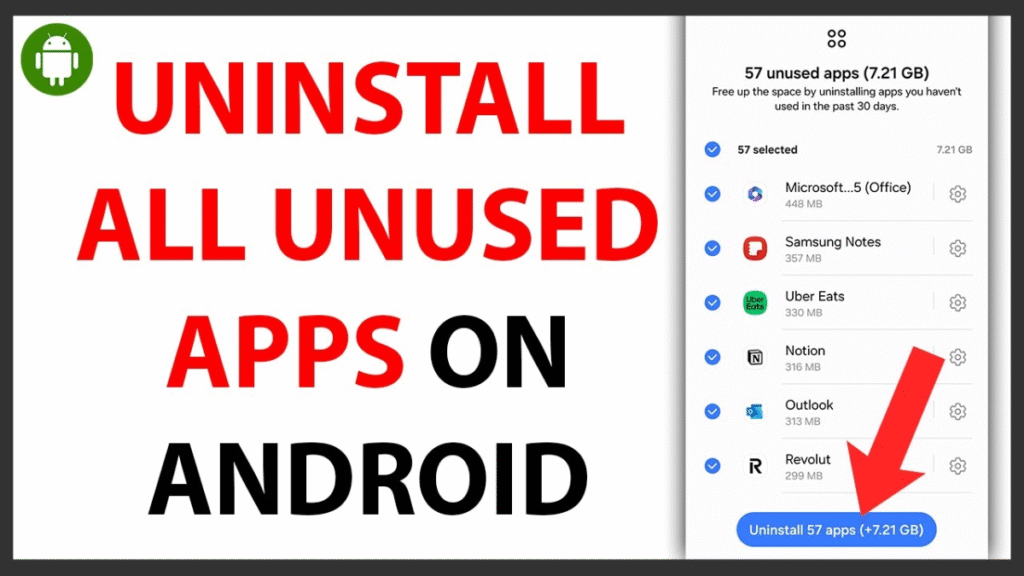
Got apps you haven’t opened in months? They’re probably sitting there, taking up space in your system storage. To get rid of them, go to Settings > Apps, scroll through the list, and tap on any app you don’t need. Hit Uninstall, and it’s gone. Some pre-installed apps (called bloatware) can’t be uninstalled, but you can disable them to stop them from using resources. Disabling is like putting those apps in a deep sleep—they won’t bother you anymore. Wondering what else you can toss out? Let’s move on to files.
Delete Unnecessary Files
Your Android phone is probably full of random files—old downloads, blurry photos, or memes you saved ages ago. To clean them up, open the Files app (or My Files on some devices) and check folders like Downloads, Images, or Videos. Select anything you don’t need and tap Delete. Pro tip: Sort files by size to spot the big ones eating up space. Be careful not to delete important stuff, like work documents or family photos. Not sure what to keep? Back up important files to Google Drive (drive.google.com) first. Ready for a smarter way to clean? Let’s check out Android’s built-in tools.
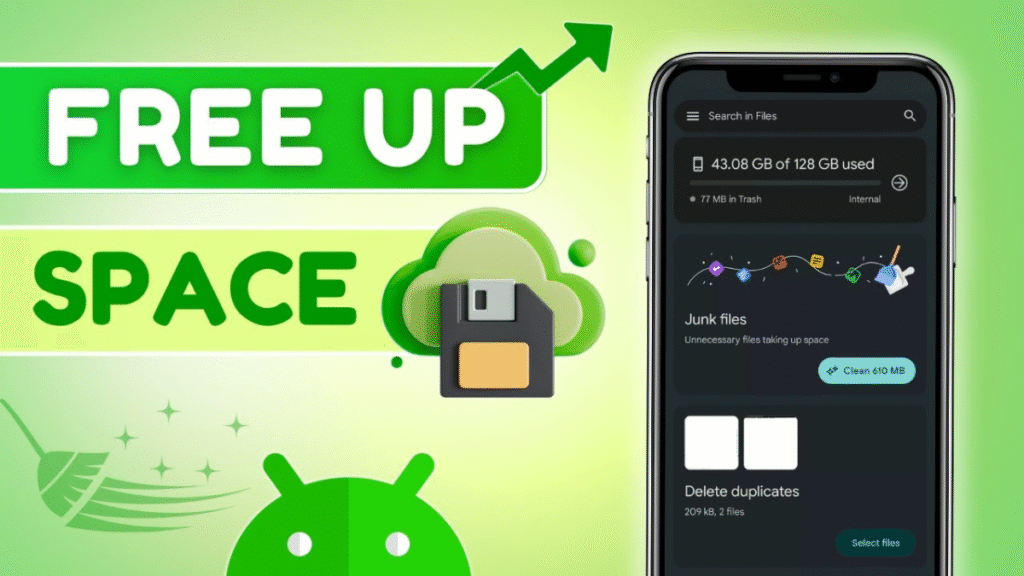
Use Android’s Built-In Storage Tools

Most Android phones come with a handy tool to help you clear system storage without much effort. Go to Settings > Storage and look for a button like Free Up Space or Clean Now. This tool scans your phone for junk files, like old caches or temporary files, and suggests what to delete. On some devices, like Google Pixel, you’ll find this under Storage & Cache. Tap it, review the suggestions, and hit Clean. It’s like having a personal assistant do the cleanup for you! But what if your storage is still full? There’s another trick up our sleeve.
Manage App Data for Heavy Apps
Some apps, like social media or messaging apps, store tons of data—like chat backups or downloaded videos. To clear this, go to Settings > Apps, select a heavy app (like WhatsApp or Instagram), and tap Storage & Cache. You’ll see an option to Clear Data or Clear Cache. Clearing cache is safe and won’t affect your account, but clearing data might log you out or reset app settings, so double-check before you hit that button. For example, clearing WhatsApp data will delete your chats unless they’re backed up to Google Drive. Want to avoid losing data? Check out WhatsApp’s backup guide. Feeling like you need a bigger fix? There’s one more option, but it’s a big one.
Perform a Factory Reset (Last Resort)
If nothing else works and your system storage is still bloated, a factory reset might be your only option. This wipes your phone completely, setting it back to how it was when you bought it. To do this, go to Settings > System > Reset Options > Erase All Data (Factory Reset). Before you start, back up everything important—photos, contacts, and files—to Google Drive or an SD card. A factory reset is like hitting the reset button on a game console; it clears everything, so use it only if you’re desperate. Need help backing up? Check Google’s guide at support.google.com/android. But how can you keep your storage under control going forward? Let’s wrap this up.
Keep Your Storage in Check
Once you’ve cleared your system storage, you’ll want to keep it that way. Make it a habit to check your storage every month or two. Clear cached data regularly, delete old files, and uninstall apps you don’t use. You can also move photos and videos to cloud storage like Google Photos (photos.google.com) to save space. Set a reminder on your phone to do a quick cleanup—it’s like brushing your teeth, but for your phone! Want to know more about keeping your Android speedy? Check out the FAQs below.
FAQs
Why does my Android phone say storage is full even after deleting files?
Sometimes, cached data or app data keeps taking up space. Try clearing cached data in Settings > Storage or use the Free Up Space tool. If that doesn’t work, check for large app data or consider a factory reset after backing up.
Will clearing cached data delete my photos or messages?
No, clearing cached data only removes temporary files apps use to load faster. Your photos, messages, and personal data stay safe. Clearing app data, though, might delete settings or chats, so be cautious.
Can I free up system storage without a factory reset?
Yes! Start with clearing cached data, uninstalling unused apps, and deleting unnecessary files. Use Android’s built-in tools like Free Up Space to make it easier. A factory reset is only needed if nothing else works.
How do I back up my data before a factory reset?
Use Google Drive or Google Photos to back up files, photos, and videos. Go to Settings > System > Backup to enable automatic backups. For apps like WhatsApp, follow their backup instructions to save chats.
Conclusion
Clearing system storage on your Android phone doesn’t have to be a headache. By checking your storage, clearing cached data, uninstalling unused apps, and using built-in tools, you can free up space and keep your phone running like new. Regular maintenance, like deleting old files and backing up to the cloud, will save you from future storage woes. If all else fails, a factory reset can give your phone a fresh start—just don’t forget to back up first. With these simple steps, you’ll have a faster, cleaner Android in no time. So, what are you waiting for? Go clear that storage and enjoy your phone’s full potential!
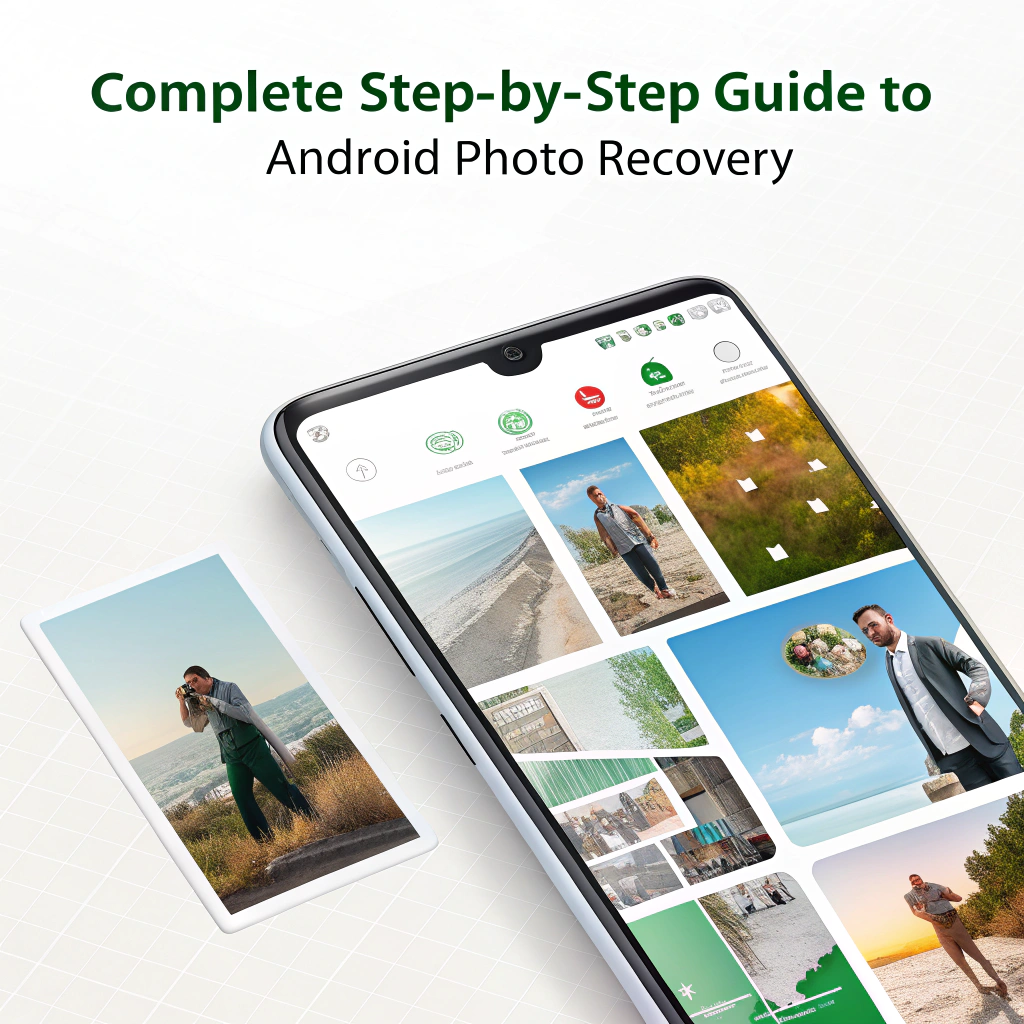
Android photo recovery can feel like a lifeline when you accidentally delete that epic gaming screenshot or a photo from your last vacation. Losing photos on your Android phone is a gut punch, especially for casual gamers who love capturing in-game moments or personal memories. Don’t worry, though! This guide walks you through why photos disappear, how to recover them step-by-step, and tips to keep them safe. Let’s dive in and bring those precious pics back!
Key Takeaways
- Common Causes: Accidental deletion, software updates, or device crashes can lead to lost photos.
- Quick Fixes: Check Recently Deleted, use Google Photos, or try recovery apps.
- Prevention Tips: Back up photos regularly, use cloud storage, and avoid full storage.
- When to Seek Help: If recovery fails, professional services can help.
Quick Answer: How to Recover Lost Photos on Android
For Android photo recovery, check the Recently Deleted folder in your gallery or Google Photos first. If they’re not there, use a recovery app like DiskDigger or connect your phone to a PC with recovery software. Back up photos to avoid future loss. If you’re still stuck, follow the detailed steps below.
Why Do Photos Disappear on Android?
Android photo recovery is needed when photos vanish for reasons you might not expect. Here’s why your photos might be gone:
Accidental Deletion
It’s easy to accidentally delete photos while clearing space or swiping too fast. For example, you might delete a screenshot of your game score while trying to free up storage, triggering the need for Android photo recovery.
Software Updates or Glitches
An Android update or system crash can wipe photos, especially if the update interrupts your gallery app. A buggy update might mess with your files, making Android photo recovery necessary.
Storage Issues
If your phone’s storage is full or the SD card is corrupted, photos can disappear. For instance, a faulty SD card used for game screenshots might cause data loss, requiring Android photo recovery.
Factory Reset
Resetting your phone to factory settings erases all data, including photos, unless they’re backed up. Gamers resetting their phone to fix lag might lose photos, needing Android photo recovery.
Physical Damage
Dropping your phone or exposing it to water can damage storage, leading to lost photos. A cracked phone from a gaming session might need Android photo recovery to retrieve images.
Ready to get those photos back? Let’s walk through the steps for Android photo recovery.
How to Recover Lost Photos on Android
When you need Android photo recovery, these steps can help you get your photos back. Follow them carefully:
Step 1: Check Recently Deleted Folder
Most Android phones have a Recently Deleted folder in the gallery app. Open your Gallery or Photos app, look for “Recently Deleted” or “Trash,” and check if your photos are there. Deleted photos often stay for 30 days. Restore them by selecting the photos and tapping “Recover.” For example, Samsung’s Gallery app has this feature—see Samsung’s recovery guide.
Step 2: Use Google Photos
If you use Google Photos, it might have backed up your images. Open the Google Photos app, check the “Library” or “Trash” folder, and look for deleted photos (they stay for 60 days if backed up). Tap to restore them. If you didn’t enable backup, turn it on now to prevent future loss. Check Google Photos help for details.
Step 3: Try a Recovery App
If your photos aren’t in Recently Deleted or Google Photos, use a recovery app like DiskDigger. Download DiskDigger from the Google Play Store, grant storage permissions, and scan for deleted photos. Select the ones you want and save them to your phone or cloud. Some features may require payment for full recovery.
Step 4: Use PC Recovery Software
Connect your Android phone to a PC for deeper Android photo recovery. Use software like EaseUS MobiSaver or Dr.Fone. Install the software, connect your phone via USB, enable USB debugging (Settings > About Phone > Tap Build Number 7 times > Developer Options > USB Debugging), and scan for deleted photos. Save recovered files to your PC or phone.
Step 5: Check SD Card or Cloud Backups
If you store photos on an SD card, remove it and use a card reader with PC software like EaseUS to scan for lost files. Also, check other cloud services like Dropbox or OneDrive if you’ve backed up there. Restore any found photos.
Still can’t find your photos? Let’s talk about preventing the need for Android photo recovery.
How to Prevent Losing Photos on Android
Recovering photos is great, but avoiding Android photo recovery altogether is better. Here’s how to keep your photos safe:
Back Up to Google Photos
Enable Google Photos backup (open the app, go to Settings > Backup & Sync, and turn it on). This automatically saves photos to the cloud, reducing the need for Android photo recovery. It’s free up to 15 GB—perfect for game screenshots or personal pics.
Use Other Cloud Services
Store photos on Dropbox, OneDrive, or similar services for extra protection. Set them to auto-upload so you don’t need Android photo recovery later. Check your account to ensure uploads are active.
Keep Storage Space Free
A full phone or SD card can corrupt files, leading to Android photo recovery needs. Regularly delete unused apps or files, and move photos to cloud storage or a PC to free up space.
Update Your Android Regularly
Software updates fix bugs that can cause data loss. Go to Settings > System > System Update to check for updates. Keeping your phone updated reduces the risk of needing Android photo recovery.
Handle Your Phone Carefully
Avoid dropping or exposing your phone to water, as physical damage can wipe photos. Use a sturdy case, especially if you’re gaming on the go, to prevent Android photo recovery situations.
Got more questions? Check out the FAQs below for quick answers.
FAQs About Android Photo Recovery
Why did my photos disappear, needing Android photo recovery?
Accidental deletion, software updates, full storage, or physical damage can cause photo loss. Check Recently Deleted or Google Photos first.
Can I recover photos without a backup for Android photo recovery?
Yes, apps like DiskDigger or PC software like EaseUS can recover deleted photos without a backup, but success depends on how recently they were deleted.
Is Android photo recovery safe with apps or software?
Trusted apps like DiskDigger or EaseUS are safe, but only download from official sources like Google Play or the developer’s website to avoid scams.
What if Android photo recovery doesn’t work?
If recovery fails, contact a professional data recovery service like DriveSavers for advanced help.
Conclusion
Android photo recovery doesn’t have to be a nightmare. Check Recently Deleted or Google Photos, use recovery apps, or try PC software to get your photos back. Prevent future loss by backing up to Google Photos, keeping storage free, and updating your phone. Your photos—whether game screenshots or personal memories—are worth saving. Try these steps and get snapping again. Can’t recover them? Reach out to a pro or share your story!


WiFi Connected but No Internet: 6 Simple Fixes
Ever been hyped to binge-watch a new series or finish some work online, only to see that dreaded “WiFi connected...


How to Clear System Storage on Android: 7 Easy Steps
Imagine your Android phone slowing down, apps crashing, and that annoying “storage almost full” notification popping up just when you’re...


Can AI Really Replace Human Jobs? 5 Hopeful Insights
Can AI really replace human jobs? It’s a question that pops up everywhere as artificial intelligence (AI) reshapes our world—from...

 Hardware Solutions1 week ago
Phone Overheating While Charging: Causes, Fixes, and Prevention
- AI1 week ago
The Top 7 AI Tools (With Detailed Guide) That Every Small Business Should Try in 2025
- Android Tips & Tricks1 week ago
The Complete Step-by-Step Guide to Android Photo Recovery
- Hardware Solutions1 week ago
Laptop Keyboard Not Working? Here’s How to Fix It
- Tech Support1 week ago
Why Is My WiFi Disconnecting Frequently? Causes & Solutions
- Hardware Solutions6 days ago
PC Powers On But No Display? Quick Fixes Explained
- Tech Support4 days ago
How to Fix Stick Drift on PS5: A Simple Guide for PC Gamers
- Game3 days ago
How to Optimize Your PC for Gaming in 2025


