
Tech Support
How to Fix Stick Drift on PS5: A Simple Guide for PC Gamers
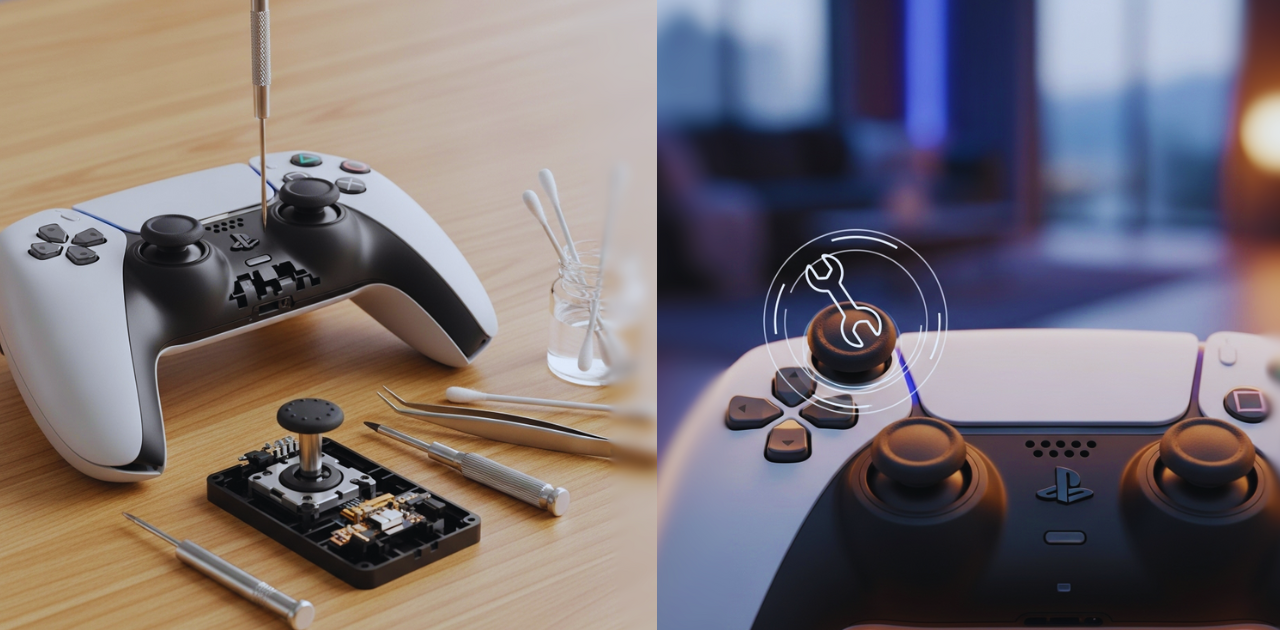
Picture this: you’re deep in a heated Fortnite match on your PC, aiming for that perfect shot, when your character starts drifting to the right. No, it’s not your skills—it’s stick drift on your PS5 controller! That annoying glitch where the analog stick moves on its own can ruin your game. But don’t toss that controller just yet. Whether you’re a casual PC gamer or a competitive player, this guide will show you how to fix stick drift on PS5 step by step. Ready to take control and get back to gaming? Let’s dive in!
Short Answer to Fix Stick Drift on PS5
To fix stick drift on a PS5 controller, try cleaning the analog stick with compressed air or isopropyl alcohol, resetting the controller, updating its firmware, or recalibrating it on your PC or PS5. If these don’t work, replace the analog stick module or contact Sony for repairs.
Key Takeaways
- Stick drift causes your PS5 controller’s analog stick to move without input.
- Common causes include dust buildup, worn-out parts, or software issues.
- Cleaning the stick or resetting the controller often solves the problem.
- Recalibrating or updating firmware are easy software fixes.
- Replacing the analog stick module is a hands-on solution for persistent drift.
- Sony support can help if the controller is under warranty or if fixes fail.
What Is Stick Drift, and Why Does It Happen?
Stick drift on a PS5 controller is when the analog stick registers movement even when you’re not touching it. Imagine playing Elden Ring on your PC, and your character keeps walking left—super frustrating! For PC gamers using a PS5 controller, this issue can throw off your gameplay. Here’s why it happens:
- Dust and Grime: Tiny bits of dust or dirt can get under the stick, messing with its sensors.
- Worn-Out Parts: Constant gaming wears down the stick’s internal parts, like the potentiometer, over time.
- Software Glitches: Firmware bugs or miscalibration can trick the controller into thinking the stick is moving.
- Physical Damage: Dropping your controller or mashing the sticks too hard can break internal components.
Knowing the cause helps you pick the right fix. Don’t worry if this sounds complicated—we’ll walk you through each solution like a friend explaining a game trick.
Step 1: Clean the Analog Stick to Fix Stick Drift
Before you start tearing your controller apart, try cleaning it. Dust is often the sneaky villain behind stick drift. Here’s how to clean your PS5 controller safely:
- Grab Your Tools: You’ll need compressed air (like for cleaning keyboards), isopropyl alcohol (70% or higher), a cotton swab, and a microfiber cloth.
- Power Off the Controller: Turn off your PS5 controller to avoid accidental inputs. Safety first!
- Use Compressed Air: Hold the can upright and spray short bursts around the base of the analog stick. Tilt the stick in all directions to clear out dust.
- Clean with Alcohol: Dip a cotton swab in isopropyl alcohol (just a little!) and gently rub around the stick’s base. Move the stick to clean inside the gap. Wipe it down with a microfiber cloth to finish.
- Let It Dry: Wait a few minutes for the alcohol to dry completely before testing.
Plug the controller into your PC or test it in a game. If the drift stops, you’re golden! If not, don’t give up—more fixes are coming.
Step 2: Reset the Controller
Sometimes, stick drift isn’t about dirt but a glitch in the controller’s system. A quick reset can fix it, like restarting your PC to clear a bug. Here’s how:
- Find the Reset Button: Flip your PS5 controller over. There’s a small hole near the Sony logo on the back.
- Press with a Paperclip: Straighten a paperclip or use a small pin. Push and hold the reset button for 5 seconds.
- Re-Pair the Controller: Connect the controller to your PC via USB-C or Bluetooth. On Windows, go to Settings > Bluetooth & Devices > Add Device and select your controller.
Test it in a game. This reset is like hitting the refresh button on your controller’s brain. Still drifting? Let’s keep going.
Step 3: Update the Controller’s Firmware
Outdated firmware can cause stick drift by confusing the controller’s software. Sony releases updates to keep things running smoothly. If you have a PS5, here’s what to do:
- Connect to PS5: Plug your controller into a PS5 with a USB-C cable.
- Check for Updates: Go to Settings > Accessories > Controller (General) > DualSense Wireless Controller Software. If there’s an update, install it by following the prompts.
For PC gamers, firmware updates are trickier since Sony’s tool is PS5-only. You can try DS4Windows, a free tool for PC that helps manage PS5 controllers, but it won’t update firmware. If you know someone with a PS5, borrow their console for this step. Test the controller afterward to see if the drift is gone.
Step 4: Recalibrate the Analog Stick
Recalibrating helps the controller relearn the stick’s “neutral” position, fixing software-related drift. On a PC, it’s super easy:
- Open Controller Settings: Connect your controller via USB or Bluetooth. Go to Control Panel > Hardware and Sound > Devices and Printers. Right-click your controller and pick Game Controller Settings.
- Start Calibration: Click Properties > Settings > Calibrate. Follow the on-screen guide to move the sticks in all directions.
- Test the Fix: Use the Test tab to check if the stick stays centered.
If you have a PS5, go to Settings > Accessories > Controller (General) > Calibrate Control Sticks and follow the instructions. This step is like reminding your controller what “still” looks like. If it works, you’re back in business!
Step 5: Tweak Dead Zones in Games
Sometimes, stick drift isn’t the controller’s fault but the game’s settings. The “dead zone” is the area where stick movement isn’t registered. A bigger dead zone can mask minor drift. Here’s how:
- Check Game Settings: Look for a dead zone slider in the game’s control options. Bump it up slightly (e.g., from 0.1 to 0.2) and test.
- Use PC Software: Download DS4Windows to adjust dead zones for any game. Connect your controller, open the software, and tweak the dead zone settings.
This fix is quick but more of a workaround. If the drift is too bad, it’s time to get hands-on.
Step 6: Replace the Analog Stick Module
If cleaning and software tricks don’t fix stick drift on your PS5 controller, the analog stick module might be worn out. Replacing it sounds intimidating, but with patience, you can do it. Here’s the step-by-step:
- Get Your Tools: You’ll need a small Phillips screwdriver, a plastic pry tool (or spudger), and a replacement analog stick module. Buy one from Amazon or iFixit—make sure it’s for the PS5 DualSense controller.
- Open the Controller: Unscrew the four screws on the back. Gently pry off the back cover with the spudger. Watch out for the plastic clips—they’re delicate.
- Find the Analog Stick: Look for the green circuit board. The analog stick modules are the two units with sticks. Identify the drifting one (left or right).
- Replace the Module: If you can solder, desolder the old module’s pins. If not, get a pre-soldered module to snap in. Install the new module and reassemble the controller.
- Test It Out: Connect the controller to your PC and test for drift.
This fix takes some skill, so check out a YouTube tutorial for visuals. Not feeling handy? A repair shop can do it for you.
Step 7: Reach Out to Sony Support
If nothing works, Sony’s your last stop—especially if your controller is under warranty. Head to Sony’s PlayStation Support and start a repair request. You’ll need the controller’s serial number (on the back) and proof of purchase. If it’s covered, Sony might fix or replace it for free.
PC gamers, double-check if the warranty applies, as using the controller on a PC might raise questions. Be upfront about your setup to avoid hiccups.
FAQ
Q: Can I prevent stick drift on my PS5 controller?
A: Yep! Don’t press the sticks too hard, keep the controller clean, and store it away from dust. Update the firmware regularly, too.
Q: How do I check if my controller is under warranty?
A: Look at your purchase receipt. PS5 controllers usually have a one-year warranty. Contact Sony with the serial number to confirm.
Q: Is replacing the analog stick worth it?
A: Look at your purchase receipt. PS5 controllers usually have a one-year warranty. Contact Sony with the serial number to confirm.
Q: Will stick drift happen more on PC than on PS5?
A: Nope, stick drift is a hardware or firmware issue, not tied to the platform. These fixes work for both PC and PS5.
Conclusion
Stick drift on your PS5 controller doesn’t have to end your gaming streak. With simple steps like cleaning, resetting, or recalibrating, you can often fix it in minutes. For stubborn drift, replacing the analog stick module is a wallet-friendly option if you’re up for it. And if all else fails, Sony support has your back. Don’t let a wonky stick mess up your Apex Legends or Cyberpunk 2077 sessions on PC. Try these fixes, and you’ll be back to precision gaming in no time. Which fix worked for you? Test it out and share your victory!

Ever been hyped to binge-watch a new series or finish some work online, only to see that dreaded “WiFi connected but no internet” message? It’s like your device is teasing you—connected, yet totally useless! Don’t stress—this is a common hiccup for internet users, and I’m here to walk you through fixing it with easy, step-by-step solutions. Whether you’re on your phone, laptop, or tablet, these tips will help you get back online fast. Ready to say goodbye to that annoying error and hello to smooth browsing? Let’s jump right in! If you’re also struggling with phone storage, check out our guide on clearing system storage on Android.
Short Answer: To fix “WiFi connected but no internet,” restart your router, check signal strength, forget and reconnect to the network, update your device’s software, check for ISP outages, or reset network settings.
Key Takeaways:

- Restarting your router often resolves connectivity issues.
- Weak WiFi signals can cause “no internet” errors.
- Forgetting and reconnecting to WiFi refreshes the connection.
- Software updates can fix bugs affecting your internet.
- ISP outages might be the culprit—check with your provider.
- Resetting network settings is a last-ditch fix.
- Secure your WiFi and maintain your router to avoid future issues.
Restart Your Router

First things first—when your WiFi says it’s connected but there’s no internet, try restarting your router. It’s like giving your router a quick power nap to clear its head. Unplug it from the wall, wait about 30 seconds, and plug it back in. Most routers take a minute or two to reconnect. This simple trick fixes a ton of issues by resetting the connection and clearing glitches. For more router tips, check out Linksys’ guide on router troubleshooting. Still offline? Don’t worry, we’ve got more fixes coming up!
Check Your WiFi Signal Strength
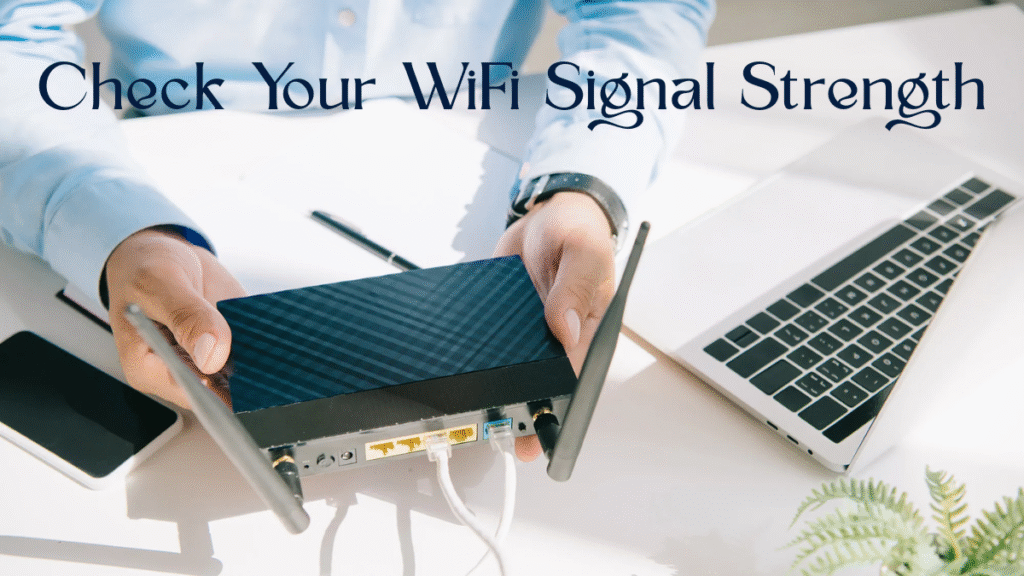
A weak WiFi signal can leave you connected but without internet, like trying to hear a friend shouting from a mile away. Look at the WiFi bars on your device—fewer bars mean a weaker signal. Move closer to your router or clear away obstacles like walls or furniture. Electronics like microwaves or cordless phones can also mess with your signal, so keep your router in an open spot. If your signal’s still weak, learn more about boosting it at Netgear’s WiFi optimization guide. Ready for the next step? Let’s keep going.
Forget and Reconnect to the WiFi Network

Sometimes, your device holds onto a bad connection like a stubborn kid refusing to let go of a toy. To fix this, “forget” the WiFi network and reconnect. On your phone or laptop, go to WiFi Settings, find your network, and tap Forget Network. Then, select the network again and enter the password. You can usually find the password on your router’s sticker or in your ISP’s app. This refreshes the connection and often solves the “no internet” problem. Need help finding your password? Check out TP-Link’s guide on WiFi passwords. Still stuck? There’s more to try.
Update Your Device’s Software
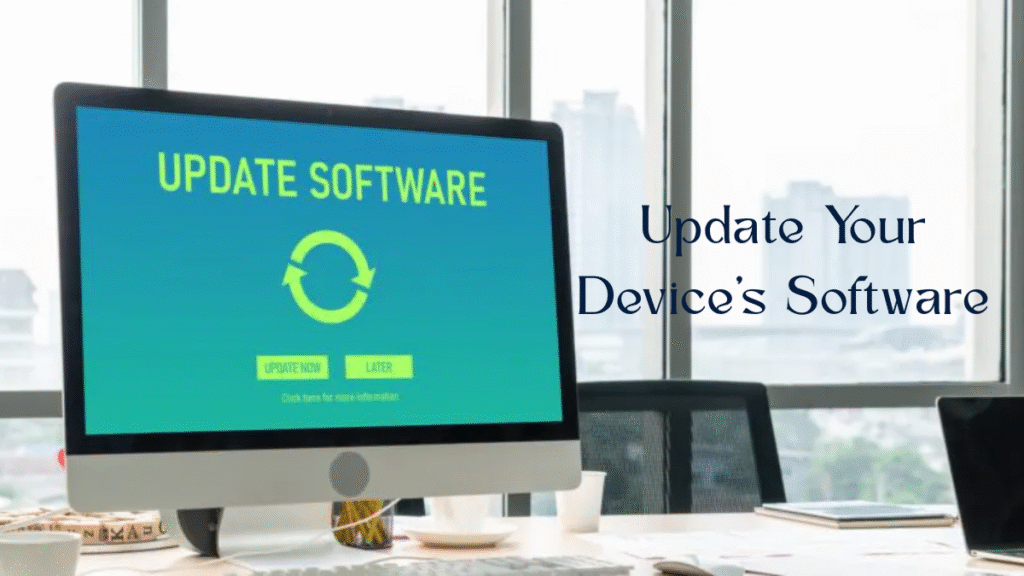
Old software can cause connection issues, like trying to play a new game on an outdated console. Check for updates on your device to keep things running smoothly. On Android, go to Settings > System > System Update. For iPhones, head to Settings > General > Software Update. Laptops? Check Windows Update or macOS System Settings. Updating fixes bugs that might be blocking your internet. For detailed steps, visit Google’s Android update guide. If your software’s up-to-date and you’re still offline, let’s check something else.
Check for ISP Outages

Sometimes, the problem isn’t you—it’s your internet service provider (ISP). If they’re having an outage, your WiFi will connect but show no internet. Visit your ISP’s website or app for outage alerts. For example, Xfinity users can check xfinity.com/support/status. You can also call their support line or look for updates on social media. If there’s an outage, you’ll need to wait it out. No outage? Then it’s time for a bigger fix. Curious about what’s next? Let’s dive in.
Reset Network Settings
If nothing’s worked so far, resetting your network settings is like rebooting your device’s entire connection system. This clears WiFi, Bluetooth, and mobile data settings, so you’ll need to reconnect to networks afterward. On Android, go to Settings > System > Reset Options > Reset WiFi, Mobile & Bluetooth. On iPhones, it’s Settings > General > Transfer or Reset iPhone > Reset > Reset Network Settings. Keep your WiFi password handy—you’ll need it! For more on resets, see Apple’s reset guide. Want to stop this from happening again? Read on.
Prevent Future WiFi Issues
Nobody wants to deal with “WiFi connected but no internet” again, right? Keep your router’s firmware updated—your ISP’s website or router manual will show you how. Use a strong WiFi password to block freeloaders who slow your network. Apps like Fing can show you who’s on your WiFi. Place your router in an open area, away from walls or electronics, for a better signal. Restart your router every few weeks to keep it fresh. For more tips on speeding up your internet, check out our guide on optimizing Android performance.
FAQs
Why does my WiFi say connected but no internet?
This happens due to router glitches, weak signals, outdated software, or ISP outages. Restart your router, check the signal, or update your device to fix it.
Will resetting network settings delete my photos or apps?
Nope! It only clears WiFi, Bluetooth, and mobile data settings. Your photos, apps, and other data are safe, but you’ll need to reconnect to WiFi.
How can I check if my ISP is down?
Visit your ISP’s website or app, like xfinity.com/support/status, or call their support line. Social media can also show outage updates.
Can a weak WiFi signal stop my internet?
Yes, a weak signal can connect but fail to load the internet. Move closer to your router or clear obstacles to boost the signal.
Conclusion
Getting hit with a “WiFi connected but no internet” error is a total bummer, but you’ve got this! Start with a quick router restart, check your signal, or forget and reconnect to the network. Keep your device updated, check for ISP outages, and reset network settings if you’re desperate. To avoid future headaches, update your router, secure your WiFi, and keep it in a good spot. With these steps, you’ll be back to streaming, gaming, or browsing in no time. For more tech fixes, explore our guide on clearing Android storage. Now, go conquer that WiFi!

Key Takeaways:
- A desktop that keeps restarting is often caused by overheating, software issues, or hardware problems.
- Basic troubleshooting includes checking temperatures, updating drivers, and scanning for malware.
- Advanced steps involve inspecting hardware like RAM or the power supply.
- Regular maintenance can prevent future restarts.
Introduction
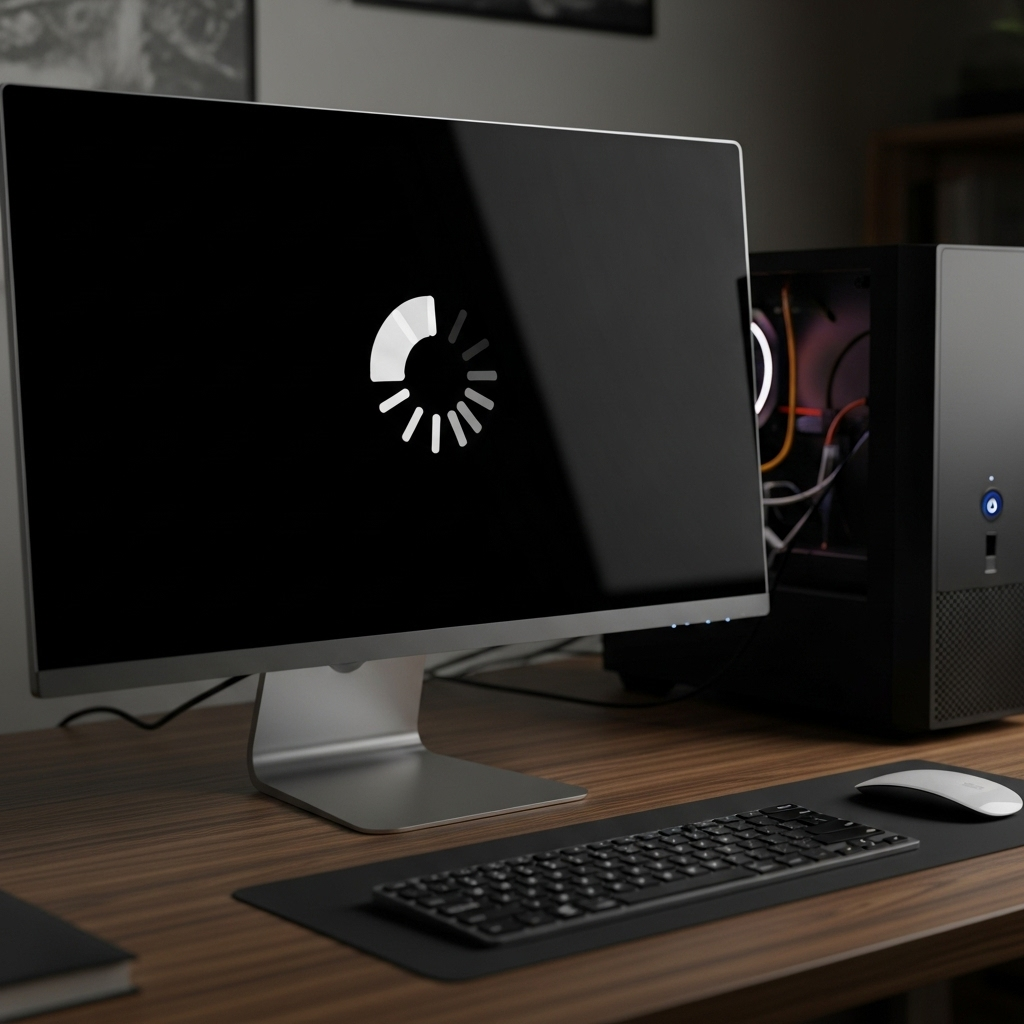
Desktop keep restarting issues can be incredibly frustrating, especially when you’re deep in work or gaming. That sudden reboot feels like your PC is throwing a fit, but don’t worry—there’s usually a straightforward fix. This guide breaks down why your desktop keeps restarting and walks you through 10 easy, beginner-friendly steps to solve it. Whether it’s a software glitch, overheating, or a hardware issue, we’ve got you covered with practical solutions. Let’s dive in and get your computer running smoothly again.
Why Does Your Desktop Keep Restarting?
Before fixing the problem, it helps to understand what’s causing it. A desktop that keeps restarting could be dealing with:
- Overheating: Components like the CPU or GPU get too hot, triggering a reboot to protect them.
- Software Issues: Outdated drivers, corrupted system files, or malware can cause crashes.
- Hardware Problems: Faulty RAM, a failing power supply, or loose connections might be to blame.
- Windows Settings: Automatic restarts after updates or errors can catch you off guard.
Identifying the root cause is the first step to stopping those annoying reboots.
Step-by-Step Solutions to Fix Desktop Keep Restarting
Here’s a clear, beginner-friendly guide to troubleshoot and fix your desktop keeping restarting issue. Follow these steps in order, and you’ll likely find the culprit.
Step 1: Check for Overheating
Overheating is a common reason desktops restart. When your CPU or GPU gets too hot, your PC reboots to prevent damage.
- What to do: Download a free tool like HWMonitor to check your CPU and GPU temperatures. Safe CPU temperatures are usually below 85°C (185°F) under load.
- Fix it: Clean your PC’s fans and vents with compressed air to remove dust. Ensure your computer is in a well-ventilated area. If temperatures are still high, consider reapplying thermal paste to the CPU or upgrading your cooling system.
Step 2: Update Your Drivers
Outdated or corrupted drivers can cause your desktop to restart unexpectedly. Drivers are like translators between your hardware and Windows, and when they’re outdated, things go haywire.
- What to do: Go to your computer manufacturer’s website (like Dell or HP) and download the latest drivers for your graphics card, motherboard, and other components.
- Pro tip: Use a tool like Driver Booster to automate driver updates if you’re not tech-savvy.
Step 3: Scan for Malware
Viruses or malware can mess with your system, causing random restarts.
- What to do: Run a full system scan using Windows Defender or a trusted antivirus like Malwarebytes. Make sure your antivirus is up to date before scanning.
- Fix it: Quarantine or remove any threats found. Restart your PC and check if the issue persists.
Step 4: Disable Automatic Restarts in Windows
Windows sometimes restarts automatically after errors or updates, which can feel like a random reboot.
- What to do:
- Right-click “This PC” (or “My Computer”) and select “Properties.”
- Click “Advanced system settings” > “Startup and Recovery” > “Settings.”
- Uncheck “Automatically restart” under System Failure.
- Why it helps: This stops Windows from rebooting during errors, letting you see error messages that might point to the cause.
Step 5: Check for Windows Updates
A buggy Windows update or missing patches can cause restarts.
- What to do: Go to Settings > Update & Security > Windows Update and check for updates. Install any pending updates and restart manually.
- Note: If a recent update caused the issue, you can roll back to a previous version via Settings > Update & Security > Recovery.
Step 6: Test Your RAM
Faulty RAM can cause your desktop to keep restarting.
- What to do: Use Windows’ built-in Memory Diagnostic Tool.
- Type “Windows Memory Diagnostic” in the search bar and open it.
- Choose “Restart now and check for problems.”
- Let the tool run—it’ll restart your PC and display results.
- Fix it: If errors are found, try reseating your RAM sticks or replacing faulty ones. Check your manufacturer’s website for compatible RAM.
Step 7: Inspect Your Power Supply Unit (PSU)
A failing PSU can cause random restarts by not delivering consistent power.
- What to do: Listen for unusual noises (like buzzing) from your PSU. If you’re comfortable, check that all PSU cables are securely connected.
- Fix it: If you suspect the PSU is faulty, take your PC to a technician or replace the PSU. Use a PSU calculator like OuterVision to ensure the new unit has enough wattage.
Step 8: **Protections**: This repairs corrupted Windows files that might be causing instability.
Step 8: Run System File Checker (SFC)
Corrupted system files can trigger restarts. Windows has a built-in tool to fix this.
- What to do:
- Open Command Prompt as Administrator (search “cmd,” right-click, and select “Run as administrator”).
- Type
sfc /scannowand press Enter. - Wait for the scan to complete and follow any prompts to repair files.
- Why it helps: This repairs corrupted Windows files that might be causing instability.
Step 9: Check Event Viewer for Clues
Windows logs errors that can help pinpoint why your desktop keeps restarting.
- What to do:
- Type “Event Viewer” in the search bar and open it.
- Go to Windows Logs > System and look for “Error” or “Critical” events around the time of restarts.
- Note error codes and search them online for specific fixes.
- Example: A “Kernel-Power” error often points to PSU issues.
Step 10: Seek Professional Help
If none of the above work, your desktop keeping-restarting issue might need a pro. Hardware issues like a failing motherboard or GPU are tricky to diagnose without specialized tools.
- What to do: Contact your PC manufacturer’s support or a local technician. Provide them with any error codes from Event Viewer or Memory Diagnostic.
Preventing Future Restarts
To keep your desktop running smoothly:
- Clean regularly: Dust your PC every 3-6 months to prevent overheating.
- Update software: Keep Windows, drivers, and antivirus up-to-date.
- Monitor hardware: Use tools like HWMonitor to catch issues early.
- Backup data: Regularly back up files to avoid data loss during crashes.
FAQ
Q: Why does my desktop keep restarting randomly?
A: Random restarts are often caused by overheating, outdated drivers, malware, or hardware issues like faulty RAM or PSU. Follow the steps above to diagnose and fix.
Q: Can a virus cause my desktop to restart?
A: Yes, malware can destabilize your system, leading to restarts. Run a full antivirus scan to rule this out.
Q: How do I know if my PSU is failing?
A: Signs include random restarts, unusual noises from the PSU, or your PC shutting off under heavy load. A technician can confirm.
Q: Is it safe to clean my PC myself?
A: Yes, if you use compressed air and avoid touching sensitive components. If unsure, consult a professional.
Conclusion
A desktop keeping restarting problem can drive you up the wall, but with these 10 easy steps, you’re well-equipped to solve it. Start with simple fixes like checking for overheating or updating drivers, then move to advanced steps like testing RAM or the PSU. Regular maintenance can prevent future issues, keeping your PC stable and reliable. If you’re still stuck, don’t hesitate to seek professional help. Got more questions? Drop them below, and let’s keep your desktop running like a champ!
Meta Description: Discover 10 easy steps to fix your desktop’s keep-restarting issue. From overheating to software glitches, this beginner-friendly guide helps all PC users stop random reboots. (134 characters)
Key Takeaways:
- A desktop that keeps restarting is often caused by overheating, software issues, or hardware problems.
- Basic troubleshooting includes checking temperatures, updating drivers, and scanning for malware.
- Advanced steps involve inspecting hardware like RAM or the power supply.
- Regular maintenance can prevent future restarts.
Introduction
Desktop keep restarting issues can be incredibly frustrating, especially when you’re deep in work or gaming. That sudden reboot feels like your PC is throwing a fit, but don’t worry—there’s usually a straightforward fix. This guide breaks down why your desktop keeps restarting and walks you through 10 easy, beginner-friendly steps to solve it. Whether it’s a software glitch, overheating, or a hardware issue, we’ve got you covered with practical solutions. Let’s dive in and get your computer running smoothly again.
Why Does Your Desktop Keep Restarting?
Before fixing the problem, it helps to understand what’s causing it. A desktop that keeps restarting could be dealing with:
- Overheating: Components like the CPU or GPU get too hot, triggering a reboot to protect them.
- Software Issues: Outdated drivers, corrupted system files, or malware can cause crashes.
- Hardware Problems: Faulty RAM, a failing power supply, or loose connections might be to blame.
- Windows Settings: Automatic restarts after updates or errors can catch you off guard.
Identifying the root cause is the first step to stopping those annoying reboots.
Step-by-Step Solutions to Fix Desktop Keep Restarting
Here’s a clear, beginner-friendly guide to troubleshoot and fix your desktop keeping restarting issue. Follow these steps in order, and you’ll likely find the culprit.
Step 1: Check for Overheating
Overheating is a common reason desktops restart. When your CPU or GPU gets too hot, your PC reboots to prevent damage.
- What to do: Download a free tool like HWMonitor to check your CPU and GPU temperatures. Safe CPU temperatures are usually below 85°C (185°F) under load.
- Fix it: Clean your PC’s fans and vents with compressed air to remove dust. Ensure your computer is in a well-ventilated area. If temperatures are still high, consider reapplying thermal paste to the CPU or upgrading your cooling system.
Step 2: Update Your Drivers
Outdated or corrupted drivers can cause your desktop to restart unexpectedly. Drivers are like translators between your hardware and Windows, and when they’re outdated, things go haywire.
- What to do: Go to your computer manufacturer’s website (like Dell or HP) and download the latest drivers for your graphics card, motherboard, and other components.
- Pro tip: Use a tool like Driver Booster to automate driver updates if you’re not tech-savvy.
Step 3: Scan for Malware
Viruses or malware can mess with your system, causing random restarts.
- What to do: Run a full system scan using Windows Defender or a trusted antivirus like Malwarebytes. Make sure your antivirus is up to date before scanning.
- Fix it: Quarantine or remove any threats found. Restart your PC and check if the issue persists.
Step 4: Disable Automatic Restarts in Windows
Windows sometimes restarts automatically after errors or updates, which can feel like a random reboot.
- What to do:
- Right-click “This PC” (or “My Computer”) and select “Properties.”
- Click “Advanced system settings” > “Startup and Recovery” > “Settings.”
- Uncheck “Automatically restart” under System Failure.
- Why it helps: This stops Windows from rebooting during errors, letting you see error messages that might point to the cause.
Step 5: Check for Windows Updates
A buggy Windows update or missing patches can cause restarts.
- What to do: Go to Settings > Update & Security > Windows Update and check for updates. Install any pending updates and restart manually.
- Note: If a recent update caused the issue, you can roll back to a previous version via Settings > Update & Security > Recovery.
Step 6: Test Your RAM
Faulty RAM can cause your desktop to keep restarting.
- What to do: Use Windows’ built-in Memory Diagnostic Tool.
- Type “Windows Memory Diagnostic” in the search bar and open it.
- Choose “Restart now and check for problems.”
- Let the tool run—it’ll restart your PC and display results.
- Fix it: If errors are found, try reseating your RAM sticks or replacing faulty ones. Check your manufacturer’s website for compatible RAM.
Step 7: Inspect Your Power Supply Unit (PSU)
A failing PSU can cause random restarts by not delivering consistent power.
- What to do: Listen for unusual noises (like buzzing) from your PSU. If you’re comfortable, check that all PSU cables are securely connected.
- Fix it: If you suspect the PSU is faulty, take your PC to a technician or replace the PSU. Use a PSU calculator like OuterVision to ensure the new unit has enough wattage.
Step 8: **Protections**: This repairs corrupted Windows files that might be causing instability.
Step 8: Run System File Checker (SFC)
Corrupted system files can trigger restarts. Windows has a built-in tool to fix this.
- What to do:
- Open Command Prompt as Administrator (search “cmd,” right-click, and select “Run as administrator”).
- Type
sfc /scannowand press Enter. - Wait for the scan to complete and follow any prompts to repair files.
- Why it helps: This repairs corrupted Windows files that might be causing instability.
Step 9: Check Event Viewer for Clues
Windows logs errors that can help pinpoint why your desktop keeps restarting.
- What to do:
- Type “Event Viewer” in the search bar and open it.
- Go to Windows Logs > System and look for “Error” or “Critical” events around the time of restarts.
- Note error codes and search them online for specific fixes.
- Example: A “Kernel-Power” error often points to PSU issues.
Step 10: Seek Professional Help
If none of the above work, your desktop keeping-restarting issue might need a pro. Hardware issues like a failing motherboard or GPU are tricky to diagnose without specialized tools.
- What to do: Contact your PC manufacturer’s support or a local technician. Provide them with any error codes from Event Viewer or Memory Diagnostic.
Preventing Future Restarts
To keep your desktop running smoothly:
- Clean regularly: Dust your PC every 3-6 months to prevent overheating.
- Update software: Keep Windows, drivers, and antivirus up-to-date.
- Monitor hardware: Use tools like HWMonitor to catch issues early.
- Backup data: Regularly back up files to avoid data loss during crashes.
FAQ
Q: Why does my desktop keep restarting randomly?
A: Random restarts are often caused by overheating, outdated drivers, malware, or hardware issues like faulty RAM or PSU. Follow the steps above to diagnose and fix.
Q: Can a virus cause my desktop to restart?
A: Yes, malware can destabilize your system, leading to restarts. Run a full antivirus scan to rule this out.
Q: How do I know if my PSU is failing?
A: Signs include random restarts, unusual noises from the PSU, or your PC shutting off under heavy load. A technician can confirm.
Q: Is it safe to clean my PC myself?
A: Yes, if you use compressed air and avoid touching sensitive components. If unsure, consult a professional.
Conclusion
A desktop keeping restarting problem can drive you up the wall, but with these 10 easy steps, you’re well-equipped to solve it. Start with simple fixes like checking for overheating or updating drivers, then move to advanced steps like testing RAM or the PSU. Regular maintenance can prevent future issues, keeping your PC stable and reliable. If you’re still stuck, don’t hesitate to seek professional help. Got more questions? Drop them below, and let’s keep your desktop running like a champ!


WiFi Connected but No Internet: 6 Simple Fixes
Ever been hyped to binge-watch a new series or finish some work online, only to see that dreaded “WiFi connected...


How to Clear System Storage on Android: 7 Easy Steps
Imagine your Android phone slowing down, apps crashing, and that annoying “storage almost full” notification popping up just when you’re...


Can AI Really Replace Human Jobs? 5 Hopeful Insights
Can AI really replace human jobs? It’s a question that pops up everywhere as artificial intelligence (AI) reshapes our world—from...

 Hardware Solutions1 week ago
Phone Overheating While Charging: Causes, Fixes, and Prevention
- AI1 week ago
The Top 7 AI Tools (With Detailed Guide) That Every Small Business Should Try in 2025
- Android Tips & Tricks1 week ago
The Complete Step-by-Step Guide to Android Photo Recovery
- Hardware Solutions1 week ago
Laptop Keyboard Not Working? Here’s How to Fix It
- Tech Support1 week ago
Why Is My WiFi Disconnecting Frequently? Causes & Solutions
- Hardware Solutions6 days ago
PC Powers On But No Display? Quick Fixes Explained
- Game4 days ago
How to Optimize Your PC for Gaming in 2025
- Hardware Solutions4 days ago
5 Fixes for Audio Issues on PC and Laptop


